
 Jane
Jane
@roomixdiy Step by step we're there with you! 💪 #stairdecor #hallwaymakeover #allinone #easydiy #roomixdiy
♬ Beat Automotivo Tan Tan Tan Viral - WZ Beat
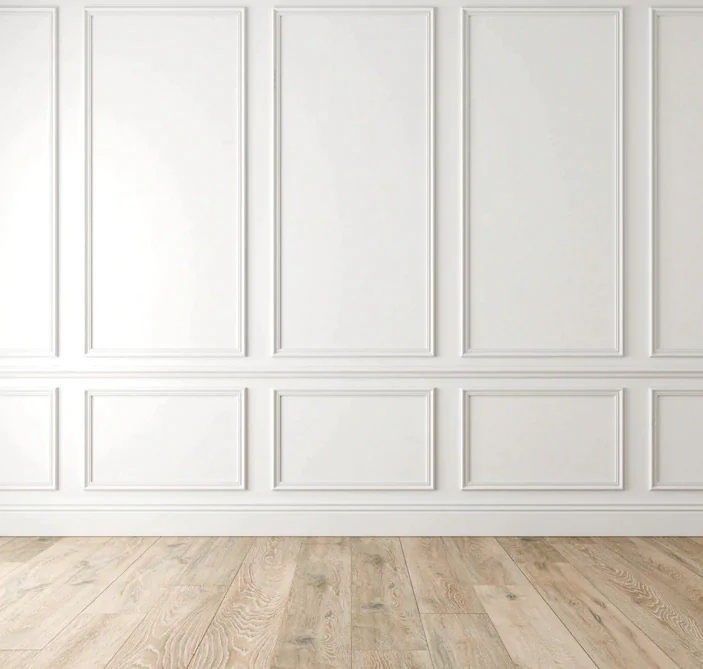
You have to design your layout plan slightly differently for any flat
hallway areas, versus the angled edge of your stairs.
To create layout plans for flat areas, you need to divide the total
width into a number of columns or you can use our handy layout
plan tool to help
We recommend the gap between each panelling strip to be as
close to 50cm as possible - though it’s rare to get it exactly 50cm.
Take this total horizontal measurement and follow the same process as you did with the hallway to find the
right gap between panels.
We suggest marking measurements with a pencil and then drawing on the panel lines with coloured masking tape.
As you go up the stairs measure the spacing in between each vertical line (not along the skirting).
The height of the panels may need to change as you go up the stairs, this will depend on the angle of your
staircase. Play around with this until you get a height you are happy with using the masking tape.
Measure the distance you’d like the dado from the top of the
skirting board and mark with a pencil. Do this every metre along
your staircase.
Place a strip of dado on the wall and for horizontal sections use a
spirit level to make sure it is straight. Pencil a line along the dado
to join up your measurements and mark where the dado will go.
Measure the length of dado for the length of your staircase. Long
staircases may need multiple strips. Mark where you need to cut
with a pencil.
Using the tenon saw and the mitre box, cut the wood strips at a
90 degree angle, to the correct size. How to use a mitre box video.
To find the right diagonal cutting angle for your dado rail, grab a
friend to help you.
Glue the bottom and top of panels
Glue the vertical mdf strips
Fill & caulk the gaps, then let things dry
Sand and prime for a high quality finish
Time to paint
Personalise project to find out exactly what tools you'll need, typically requires:

Mitre box
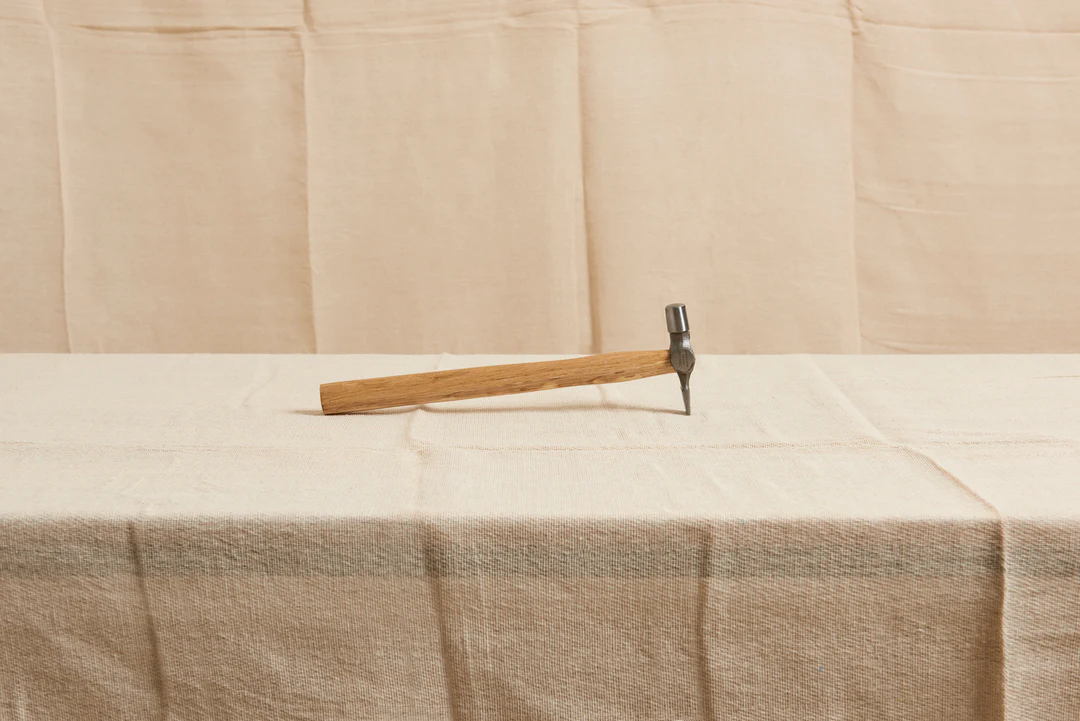
Pin hammer
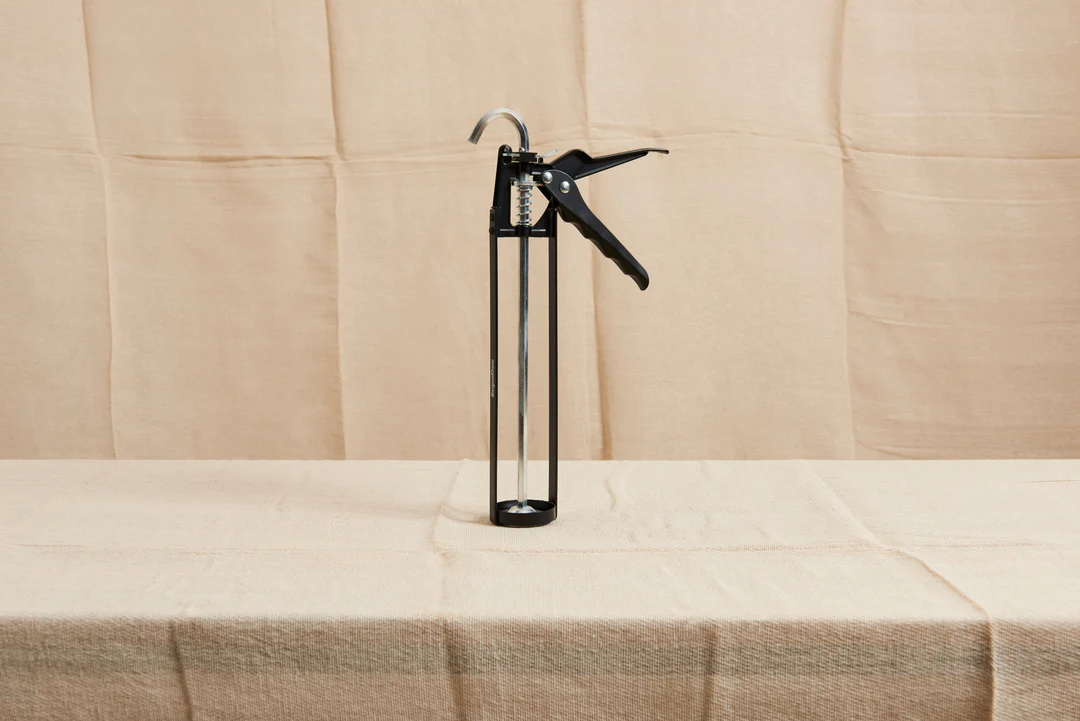
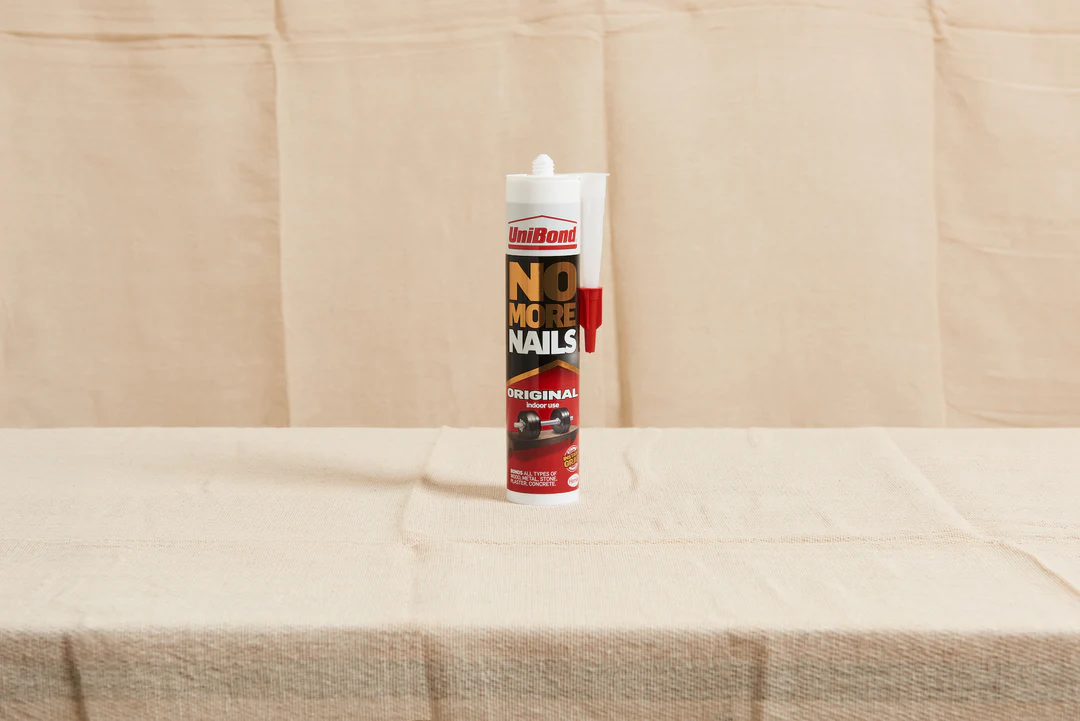
Caulking gun
Personalise project to find out exactly what materials you'll need, typically requires:
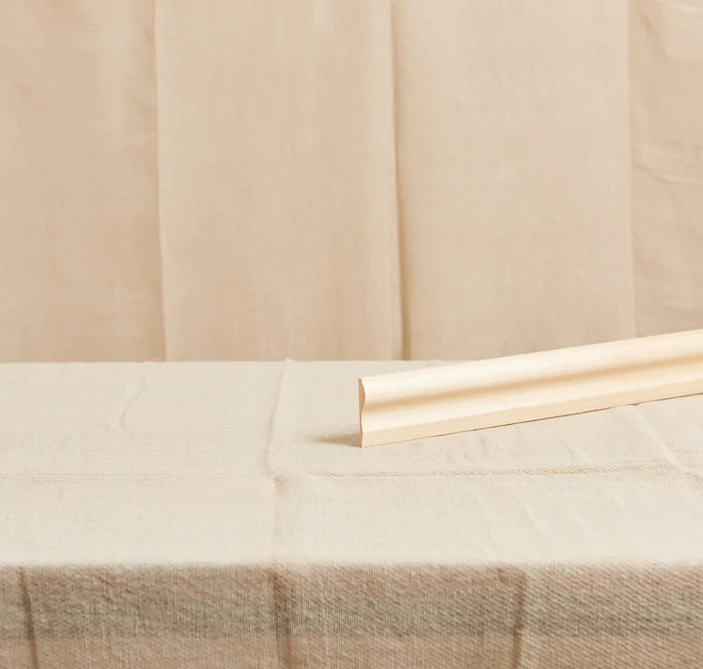
Pine dado rail: 18.5 x 69mm
Pine panel mouldings: 11x32mm
Wood glue